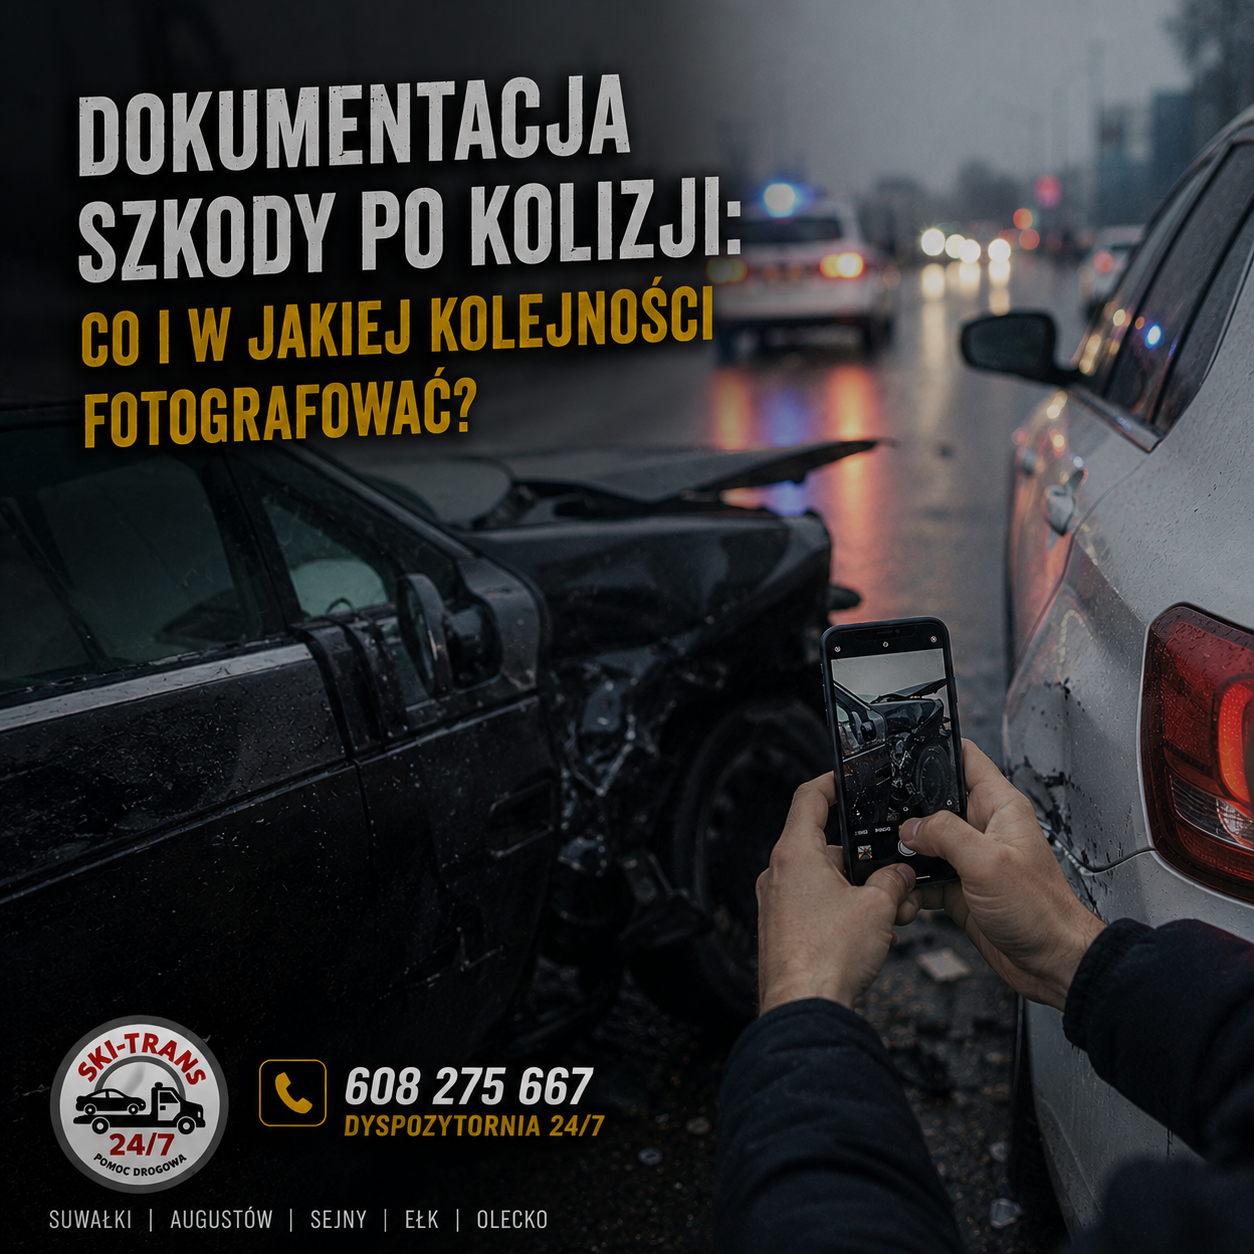
Photo documentation after a collision is the second pillar of evidence alongside the statement of the perpetrator — and often the only evidence in a dispute when the perpetrator retracts their admission of guilt after the fact. Most victims take a few random photos with their phone and then have trouble proving the extent of the damage. This article shows exactly what to photograph, in what order, and what mistakes to avoid — also in the context of the new mStłuczka app, which changes the reporting procedure from September 2025.
Why photo documentation determines compensation
The procedure for compensation payout from the perpetrator’s liability insurance is based on two documents: the statement of the collision perpetrator and evidence of the circumstances of the incident. The perpetrator can first sign the statement and then retract their admission of guilt after a few days — in such cases, recordings, photos from the scene, and witness testimonies are very useful. Without them, you have one word against another, and the perpetrator’s insurer takes advantage of any ambiguity.
Photos have another function: they allow the expert to assess the extent of the damage without the need for an inspection in the condition of the day of the incident. A car arriving at the workshop a few days after the collision looks different — dried traces, signs of manipulation from attempts to start it, additional scratches from transport. A complete set of good photos from the scene replaces everything that the expert will no longer see in person.
mStłuczka in mObywatel — digital statement from 2025
From September 1, 2025, the mObywatel app will feature the mStłuczka function — the digital equivalent of the paper statement of the collision perpetrator. The document generated by the app is certified by the Ministry of Digitalization and has full legal force — unlike the paper statement, whose authenticity has sometimes been questioned.
You can only use mStłuczka if all conditions are met: no injuries in the incident, both parties agree on guilt, and both have the mObywatel app installed in version 2.0. Driver and vehicle data are automatically filled in from the CEPiK and PESEL registers — you just need to scan the QR code from the phone of the other participant.
What mStłuczka does that a paper statement cannot
- Automatically retrieves the make, model, registration number, and VIN of the vehicles from CEPiK
- Retrieves the first name, last name, and registered address of the drivers from PESEL
- Allows you to add photos of damages and the scene as PDF attachments
- Allows you to mark damages on a schematic drawing of the vehicle
- Generates a digitally signed PDF file — ready to be sent to the insurer
- Works offline (after previously loading the data)
Step-by-step order of photographing
The most common mistake is taking photos „from what is closest” — that is, starting with the damages. Meanwhile, the correct order goes from general to specific, because general photos can easily be ruined by moving vehicles, while close-ups can always be taken.
- Safety first, then photos. If you are on the road, turn on your hazard lights, set up a warning triangle, and check if anyone is injured. Only in a safe environment should you reach for your phone. Photos without safety pose the risk of a second collision.
- Wide shots of the accident scene. At least 4 photos from different angles showing both vehicles in the frame along with the surroundings: intersection, road signs, signals, lanes, horizontal markings, directional signage. This is essential for reconstructing the incident.
- Vehicles in the post-accident position. Before moving anything, take a series of photos of both cars in the position they came to a stop. Ideally from four sides of each vehicle, plus an overhead view showing their relative positions.
- License plates of both vehicles. Separate, clear photos of each plate — this is often a missed step, and in case of a dispute, the registration number must be readable without interpretation.
- Close-up of damages. Each damaged part separately: bumper, threshold, door, rim, mirror, light. Two shots of each — from the side and from the front of the damage. Add a photo of a coin or ruler next to the deepest dent if depth is significant.
- VIN number. Located by the front windshield (visible from the outside) or on the driver’s door pillar. This will be useful if the number on the statement turns out to be incorrect — the VIN is indisputable.
- Documents of the at-fault party. Driver’s license and registration of the at-fault party in a visible frame. If the at-fault party refuses, at least take a photo of their person by the car and the license plates.
- Liability insurance policy of the at-fault party. Policy number, name of the insurer, expiration date. The at-fault party can show this in mObywatel — photograph the screen with visible data.
- Surroundings and circumstances. Brake marks, scattered debris, fluid stains, damage to barriers or road signs, weather conditions (rain, snow on the road), time of day (lighting). These photos can be decisive in a dispute.
- Witnesses and their information. If there are any — photograph them in the presence of the scene, ask for contact details. A witness with a name, surname, and phone number is evidence that the at-fault party cannot dispute.
Complete list of shots — without which the insurer will complicate the payout.
The following list covers all situations in which the insurer may request additional photos or question the extent of the damage. It’s better to take more photos in 5 minutes on-site than to return to the workshop a week later for more.
General scenes (minimum 4 photos)
- Both vehicles in one frame, view from the intersection side
- Both vehicles view from the opposite side
- View from the perspective of each driver (how they saw the situation before the collision)
- Road signs, signals, horizontal markings applicable on the stretch
Vehicles (minimum 8 photos — 4 for each car)
- Front view with a readable license plate
- Rear view with a readable license plate
- View from the left side
- View from the right side
Damage (one shot of each element, plus close-up)
- Exterior: bumpers, fenders, doors, sills, roof, hood, trunk lid
- Windows and mirrors — cracks, chips, broken mounts
- Wheels and tires — scratches, cracks, deformations
- Lights — cracked lenses, broken bulbs
- Interior (if damaged) — airbags, seat belts, dashboard, seats
- Engine compartment (if front is damaged) — radiator, fans, battery
Documents and data
- License plate with VIN visible from the outside (if possible)
- VIN stamped on the body or on the nameplate
- Registration document and driver’s license of the at-fault party
- Liability insurance policy of the at-fault party (paper or mCitizen screen)
- Dashboard clock with mileage (sometimes useful for the insurer)
Do you need car transport after documentation?
SKI TRANS — roadside assistance Suwałki, dispatch 24/7. The tow truck arrives after taking photos, transport to the specified workshop, authorized service center, or repair location.
Most common documentation errors
Most of these errors arise from stress or the assumption that 'the at-fault party is obvious.’ The problem only begins in correspondence with the insurer.
Only close-ups, no wide shots. A very common mistake. A close-up shows the dent but does not show where the car was standing or what lanes were in effect on the road. The at-fault party’s insurer may challenge the circumstances without a wide shot.
Photos after moving vehicles. After a collision, people instinctively pull off the road to avoid blocking traffic — and take photos only in a safe place. The accident position is then lost. If you must urgently pull over, at least take one series of photos in the accident position with your phone before moving the car.
Unclear license plates. A phone in night mode or low resolution makes the number on the plate blurry. Check each photo immediately after taking it — if the number is unreadable, take it again up close.
Lack of background and context photos. Traffic lights at the time of the incident, road markings, skid marks — all of these can be crucial, and after a few hours they disappear or are erased by traffic.
Lack of witness photos or their data. A witness who leaves without providing their information is nonexistent to the insurer. A short note with their name and phone number in the photo can save the case.
Taking photos in one resolution and one setting. A phone in HDR or portrait mode may blur fine details. It’s best to use automatic mode or „Pro” with normal lighting. The flash helps with damage inside the car.
What to photograph before the tow truck arrives
If the collision has immobilized the vehicle enough that transport is needed, there is an additional set of photos — which you won’t be able to take after loading the car onto the tow truck. Take them while waiting for roadside assistance when you have a calm 10–15 minutes.
- Condition of the chassis. If you can place the phone on the ground next to the car — take a photo under the vehicle. Once loaded onto the tow truck, this view is unavailable, and damage to the frame, oil pan, or exhaust system matters.
- Fluids under the car. Oil, coolant, brake fluid, fuel stains — everything that is leaking. Each stain separately up close, plus a wide shot showing its size.
- Wheel alignment. Wheels twisted due to the collision indicate damage to the suspension or steering system. A photo from an angle showing the degree of twist.
- Interior of the car. Condition of airbags (deployed or not), seat belts (locked or not), gauges (error lights). After towing, the workshop may say that „the car arrived like this.”
- Condition before loading. The final series of photos at the moment the tow truck arrives — shows that the car was transported in this specific condition. This is protection for both you and the transport company.
What to do with the photos afterward
Photos alone do not trigger the payout of compensation — they must be sent to the appropriate insurer along with a statement and a claim for damage settlement. The procedure in 2026 looks as follows:
- Secure all files in the cloud. Copy photos from your phone to Google Drive, iCloud, or your computer within a few hours. Phones get lost, drives fail — having a complete backup in the cloud is safety.
- Organize chronologically by the time taken (most phones automatically save this in the EXIF metadata). Add a short description of each shot in the file names: „01_both_vehicles_view_intersection.jpg”, „02_culprit_plate.jpg”, etc.
- Report the damage to the culprit’s insurer. You have 3 years from the incident, but the sooner, the better. Reporting online, by phone, email, or in person — every insurer accepts at least one of these channels.
- Include documentation. The statement from the culprit (paper or from mStłuczki), a complete set of photos, a situational sketch if you made one, witness details. The more complete the report, the faster the payout.
- The insurer has 30 days to assess the damage from the moment of reporting. During this time, an inspection by an expert and valuation usually takes place.
- Keep the originals. Do not delete photos from your phone until the case is resolved with a payout. In case of a court dispute, the insurer may request the original files with metadata.
FAQ
No. The app generates a digital statement with legal force, but you still need to take photos of the damages and the scene yourself — then you add them as attachments to the statement in the app. mStłuczka simplifies the exchange of personal and vehicle data (it retrieves them from CEPiK and PESEL), but it does not replace photographic documentation.
Insurers do not specify a particular number — they require „sufficient documentation.” In practice, a complete set includes: several wide shots of the scene, views of both vehicles from four sides, separate photos of the license plates, close-ups of each damaged part, the VIN number, and the perpetrator’s documents. It’s better to take more photos at the scene than to go back for them later to the workshop.
Call the police — this is the only situation where the police must come to the scene of the collision without victims. The police report has the same evidential value as the perpetrator’s statement. Until the police arrive, take photos, record the perpetrator’s details from the license plate (number + photo of the car with the perpetrator), and ask witnesses to stay.
Yes, provided they are clear, well-lit, and show key elements. Insurers do not require photos from a professional camera — they require evidence. A mid-range phone is fully sufficient. The completeness of the set is more important than the quality of each individual photo.
You have 3 years from the date of the incident to report the damage (the limitation period for claims from OC is based on Art. 819 of the Civil Code), but the sooner the better for the process. After a few weeks, memory fades on details, witnesses disperse, and traces at the scene disappear. In practice, most victims report the damage within a few days of the collision when all evidence is still fresh.
Take photos before the tow truck arrives — this is standard practice for roadside assistance. Most transport companies allow time for documentation before loading, and often they themselves point out if something important is missing. The more accurately you describe the condition of the car to the dispatcher when reporting (damaged wheel, fluid leaks, transmission issues), the more appropriate equipment will arrive right away.
You must call the police when: anyone is injured, the perpetrator refuses to write a statement, the perpetrator is intoxicated or unlicensed, there is a dispute over fault, there are more than two vehicles involved, and the circumstances are unclear. In the case of a minor collision with one perpetrator willing to sign a statement — the police are not required, and you also avoid fines for the collision itself.
After documentation, do you need roadside assistance?
SKI TRANS — roadside assistance Suwałki, dispatch 24/7. Transport of the car after a collision to the workshop, ASO, or a location specified by you.